Designing something on a flat surface is quite rudimentary for any budding craftsman, but what if you’d like to express your designs on a rounded surface instead? Well, you don’t need to use a fancy heat press machine to decorate your jars, mugs, or round containers with Heat Transfer Vinyls (HTV). With the use of a Heat Gun, you can have the same result for less work and minimal expenses!
Getting Your Heat Transfer Vinyl
- Heat Transfer Vinyl with different designs can be bought at several specialists or hobby shops, and can also be bought online. If you’re looking into designing your own, you will still have to purchase some blank Heat Transfer Vinyl Sheets to transfer the design onto.
- When making your design that you want to use, make sure to mirror the design for printing, as you’ll be essentially printing it on the back of the vinyl, and the plastic that you peel off will be at the front.
Workspace Preparations
- Safety First
Heat guns and the surface where you apply your HTV will get VERY hot. As a safety precaution, you will need to wear protective work gloves to avoid any nasty burns. If you don’t have one, an oven mitt should provide adequate protection.
- Additional Equipment
Your work surface should also be protected from the heat, and for this, you can use a thick cotton towel to cradle the object you’ll be working with. Additionally, to apply pressure to the HTV while it’s being heated, you’re going to need another spare piece of cotton fabric or a thin dishtowel.
- Preparing Your Work Surface
Once your safety checks are met, take out the object you’d like to apply the HTV on. For example, you can use a mug, a glass bottle, a porcelain jar, etc. Then, prop it onto the base cotton fabric. Hold your HTV up to where you’d like it on the object.
Using Your Heat Gun
- Turn on your heat gun. Your heat gun’s temperature can be changed to your liking, but most HTV’s will typically need around 275-320°F. Carefully move the heat gun close to the HTV to apply heat.
- Gradually work your way around the HTV in small sections, and use the extra fabric or towel to gently rub the HTV backing to apply pressure so it can properly adhere to the surface of your object.
- Make sure to keep moving your heat gun around so the heat doesn’t get too concentrated on one spot. The plastic backing of an HTV can melt or burn if you’re not careful.
Cooling down
- Once you’re satisfied with the heat you’ve applied, let the object cool down to a manageable temperature and check to see if the design has properly adhered. If it hasn’t, you can reheat and press around the areas as needed.
- If it has adhered properly, you can now peel off the backing and let it cool completely before you touch it with your bare hands. (Note: Don’t put it in front of a fan or inside a fridge to cool to avoid any damage.) Once it’s completely cool, it’s ready to use.
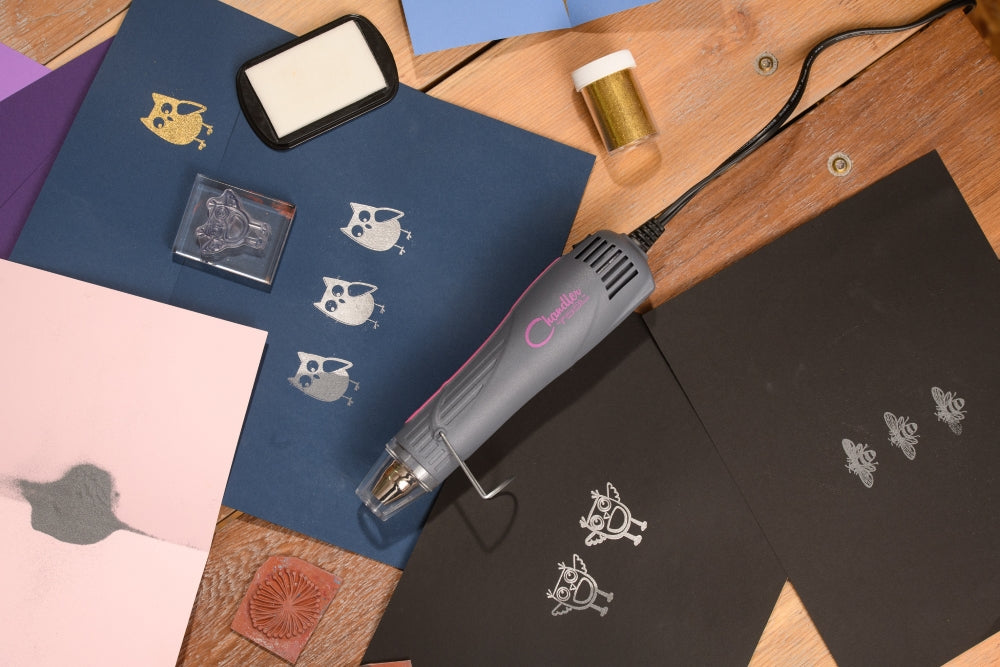
Don’t worry if you mess up. You can always slightly reheat the surface then apply an adhesive remover and slowly peel off the design so you can start over. Keep practicing and you’d be able to use this method to apply HTV to any heat-safe surface, rounded or otherwise. And if you’re looking for the perfect heat gun, check out our Dual-Temperature Embossing Heat Gun right here!
You may purchase our Heat Guns on Amazon by clicking this link!


